A practical toolkit for mixed models in R USDA ARS stats workshop
Installation instructions
I am happy to announce that we now have access to the paid version of Posit Cloud, formerly known as RStudio Cloud, through ARS. This allows participants in this course to have access to a fully functioning copy of RStudio through their web browser. The browser version of RStudio will have all the packages installed and contain all the datasets and worksheets needed for the course. This is a “demo” version of RStudio that is only suitable for the workshop, and shouldn’t be used to work on analyzing your own USDA data.
You may also want to run all the R code locally on your own machine during the course. And if you want to continue using RStudio after the workshop, you will need to install everything on your own computer anyway. So this page has two sets of instructions, one for setting up your Posit Cloud access to RStudio and another for how to install R and RStudio on your own computer:
- How to get access to RStudio through Posit Cloud
- How to install R, RStudio, and the needed packages locally
Accessing RStudio through Posit Cloud
NOTE: Your cloud access to RStudio is for instructional purposes only. Please do not upload the government’s data to this cloud server. To work with your USDA data using R, please install the software locally or use SciNet.
Step 1. Create account
You will receive a signup link by email. Please let your instructor know if you need the link to be resent.
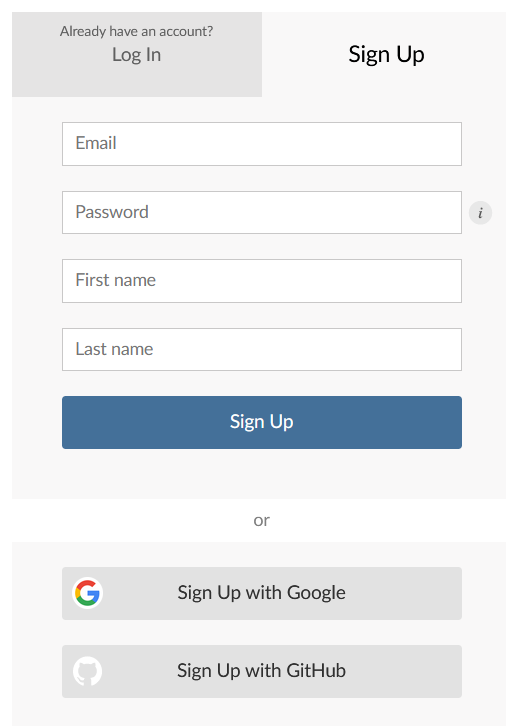
Open the link in your browser. You’ll be prompted to either log in or sign up. Click “Sign Up” to create an account. Sign up with your usda.gov email account.
Step 2. Verify email
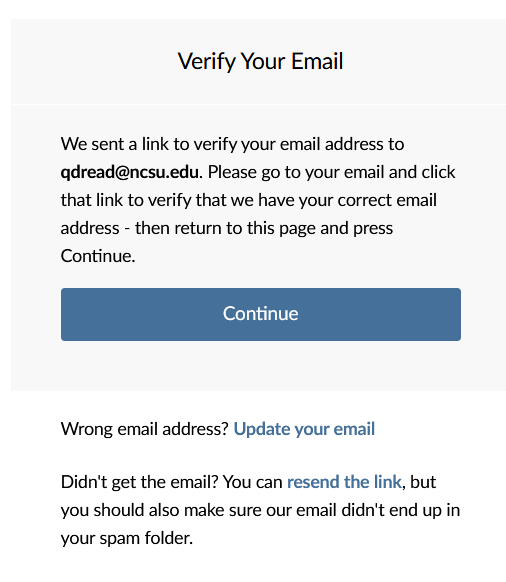
Verify the email address that you used to create the account.
Step 3. Join workspace
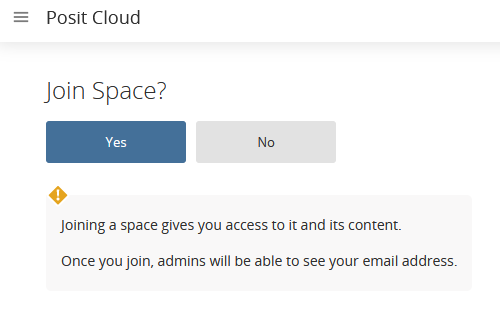
When you log in, you will be asked whether you want to join the “December 2022 Stats Workshop” workspace. Click “Yes”!
Step 4. Open workspace
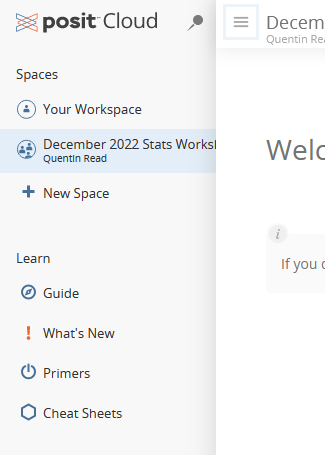
Select the December 2022 Stats Workshop space in the left-hand navigation bar.
Step 5. Open project
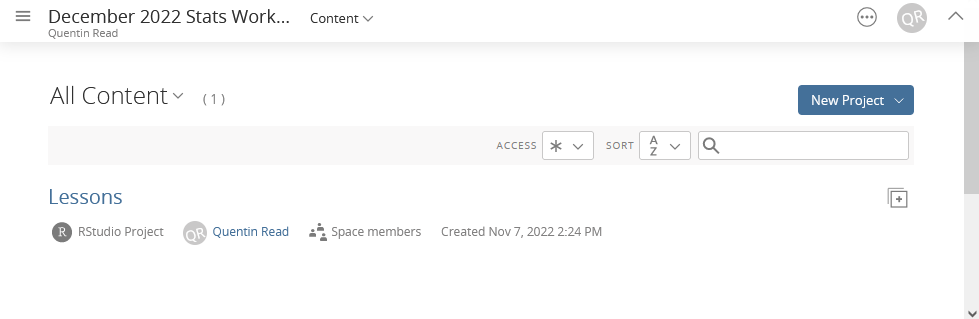
In the central pane you will be able to see the projects associated with this workspace. Currently there is only one, called “Lessons.” Click on it to enter the “Lessons” project space.
This will bring up a new RStudio session with all the needed packages installed, the worksheets in a folder called worksheets and the datasets in a folder called datasets. You can run all the code you need for this workshop right from your browser!
Installing R and RStudio locally
The following instructions describe how to set up the software installation on your own machine.
What you need to install
Before the course, you will need to have the following software installed on your laptop:
- R
- RStudio
- R packages:
In addition, you will need to download the example datasets and code worksheets.
Step 1. Install R
You will need to download R from The Comprehensive R Archive Network, or CRAN.
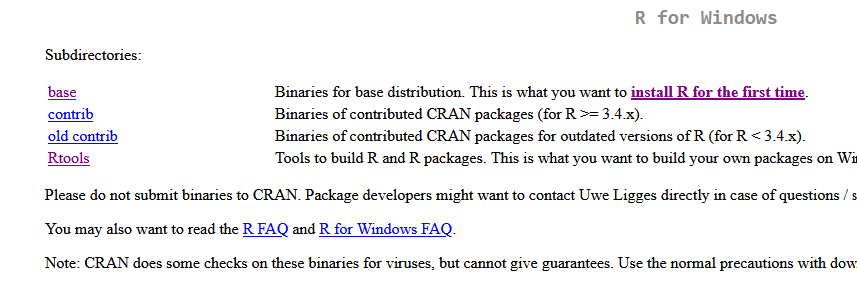
Go to the CRAN website and select the link to download the most recent version of R for your operating system. Follow the installation instructions. You will need admin rights to do this so you may need to get help from your IT staff.
Step 2. Install RStudio
RStudio is an additional software program that makes it easy for you to write R code. It provides an interface that lets you run code, edit scripts, see what variables are in your working environment, and manage files. RStudio is a program that makes it easier to use R, but you need to download both R and RStudio separately.
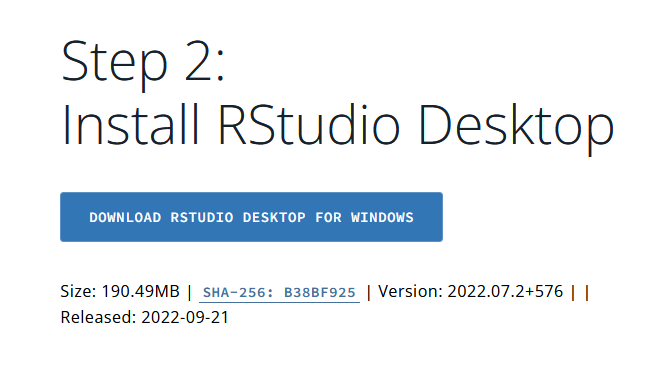
As of early November 2022, RStudio is now distributed by a company called Posit. Go to the RStudio Desktop download page and download the free version of RStudio Desktop. Again, you will need admin rights to do this on your USDA machine.
Step 3. Install R packages
To install the packages we will be working with in this course, you will need to either install packages by typing a command into the R console, or install them using RStudio’s package installation window.
NOTE: On some Windows systems, the default R package installation directory is inside the
Program Filesdirectory. Please ask your IT person to change the default R package installation directory to one that you have administrator rights to. This will allow you to install R packages in the future without involvement from an administrator.
Installing packages from the R console
- Open RStudio.
- Type the following command into the R console and press Enter. Voila!
install.packages(c("tidyverse", "lme4", "lmerTest", "emmeans", "multcomp", "easystats", "agridat", "patchwork", "pbkrtest", "multcompView"))
Installing packages from the RStudio package installation window
You can also install the packages using the RStudio package installation dialog.
- The files pane has a tab called “Packages.” Click on the “Packages” tab and then click the “Install” button in the upper left.
- Type the package names, separated by space or comma, into the box:
tidyverse, lme4, lmerTest, emmeans, multcomp, easystats, agridat, patchwork, pbkrtest, multcompView
It should look like this:
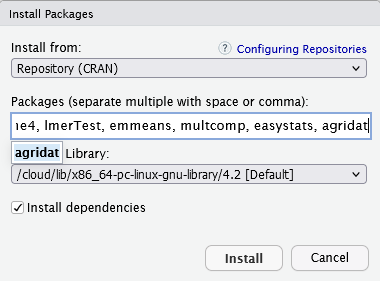
- Ensure that the library you are installing to is somewhere in a folder you can write to without admin rights. (See above.)
- Ensure that “install dependencies” is selected.
- Click “Install.”
Step 4. Download the worksheets and example datasets
Go to the worksheets and example datasets download page and download the datasets and worksheets. Unzip them to a directory on your local file system. You will need to specify the file path to that directory when you load the example datasets during the workshop.